Using a Ruler
From Montessori Album
| We've updated our prices on products from many online Montessori stores! If we've missed your favorite store, please let us know! |
| Using a Ruler | |
|---|---|
| Math - Measurement | |
 | |
| Level | Primary |
| Prerequisites | Number Rods |
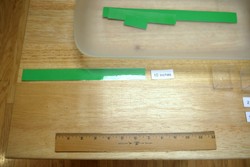
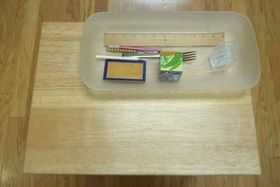
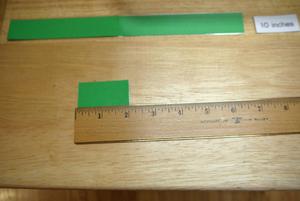
| Materials | ruler measurement labels small container for labels tray strips of card-stock or wood or objects with even measurements |
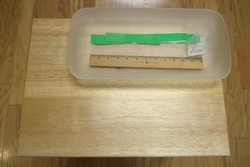
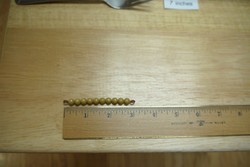
This activity teaches the child how to use a ruler to measure the length of objects.
Presentations
Measuring with Strips
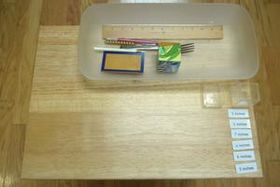
- Carry the material to a table or mat. Place it in the top right corner.
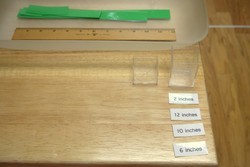
- Remove the labels and line them up along the left edge of the table.
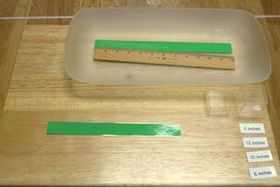
- Remove one of the strips from the tray and place it in the middle of the table.
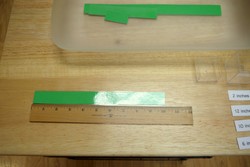
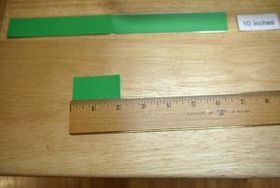
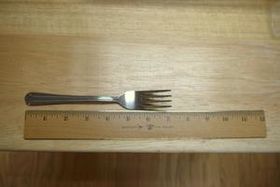
- Lay the ruler beneath the strip. Be sure that the the left edges line up. Find the measurement on the ruler.
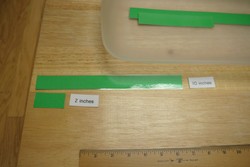
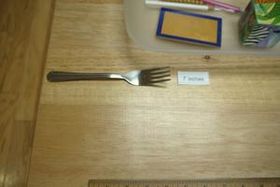
- Find the correct label. Move the strip to the upper left corner of the workspace. Place the label next to it.
- Select another strip from the tray and repeat the process.
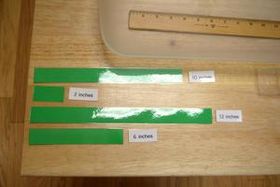
- Continue in this way until all of the strips and labels have been matched.
Measuring with Objects
- Carry the material to a table or mat. Place it in the top right corner.
- Remove the labels and line them up along the left edge of the table.
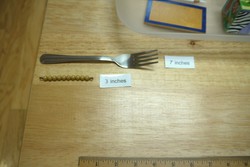
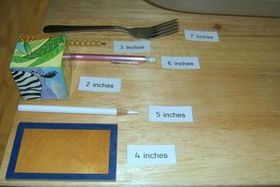
- Remove one of the objects from the tray and place it in the middle of the table. Lay the ruler beneath the object. Be sure that the the left edges line up. Find the measurement on the ruler.
- Find the correct label. Move the object to the upper left corner of the workspace. Place the label next to it.
- Select another object from the tray and repeat the process.
- Continue in this way until all of the objects and labels have been matched.
Points of Interest
Control of Error
- If a child arrives at a measurement and there is not a label for that length, or if that label has already been used, he will know that a mistake has been made.
- There should be a one-to-one correlation between labels and strips (or objects).
Variations and Extensions
- The number of strips included at one time can be varied. When first introduced there should be just a few that are very different. The work can be made more difficult by using a greater number of strips or by using strips that are closer to each other in length.
- Once the child has had some lessons about fractions, you could make versions of either of the lessons above with fractions of an inch.
- A version of the lesson could be done with centimeters. If doing this, use decimal places instead of fractions of a centimeter in later lessons.
- A longer version could be made using ribbons or strings that are stretched out straight. They could be measured with a yardstick, meterstick, or measuring tape. This version would need to be done at a mat.
Material
Make Your Own
The strips above are 1 inch wide and were cut from card-stock and then laminated. After being laminated they were trimmed very closely to avoid confusing the child. The 12 inch strip was made by cutting diagonally from the card stock.
Pencils make a good object for measuring because they can be sharpened down to even lengths.
