Embroidery: Difference between revisions
From Montessori Album
(Created page with '{{Infobox Lesson | Name = Embroidery | Topic = Practical Life | Subtopic = Care of the Person | Photo = | Level = Primary | Age …') |
|||
| (7 intermediate revisions by the same user not shown) | |||
| Line 2: | Line 2: | ||
| Name = Embroidery | | Name = Embroidery | ||
| Topic = Practical Life | | Topic = Practical Life | ||
| Subtopic = | | Subtopic = Sewing | ||
| | | image = [[File:Embroidery 16.JPG|320px]] | ||
| Level = [[Primary]] | | Level = [[Primary]] | ||
| Age = 4.5 - 5 | | Age = 4.5 - 5 | ||
| Preqs = [[ | | Preqs = [[Lacing Cards]] <br> [[Threading a Needle]] <br> [[Tying Knots]] | ||
| Materials = | | Materials = chalk or washable marker <br> needle threader <br> needle <br> embroidery floss or yarn <br> small embroidery hoop <br> square of fabric <br> scissors <br> tray | ||
}} | }} | ||
| Line 13: | Line 13: | ||
== Presentation == | == Presentation == | ||
# | # Carry the tray to a mat or table. | ||
# | #:[[File:Embroidery 1.JPG|300px]] | ||
# Draw a shape on the fabric with the chalk. (Do this inside the hoop to be sure the shape will fit.) | |||
#:[[File:Embroidery 2.JPG|300px]] | |||
# Loosen the screw to separate the hoops. | |||
#:[[File:Embroidery 3.JPG|300px]] | |||
# Set the inner hoop on the tray. | |||
#:[[File:Embroidery 4.JPG|300px]] | |||
# Lay the fabric over the inner hoop. | |||
#:[[File:Embroidery 5.JPG|300px]] | |||
# Line up the outer loop on top and press it into place. | |||
#:[[File:Embroidery 6.JPG|300px]] [[File:Embroidery 7.JPG|300px]] | |||
# Tighten the screw on the outer loop. | |||
#:[[File:Embroidery 8.JPG|300px]] | |||
# Thread the needle as was learned in [[Threading a Needle]]. | |||
#:[[File:Embroidery 9.JPG|300px]] | |||
# Tie a knot in the end of the yarn. | |||
#:[[File:Embroidery 10.JPG|300px]] | |||
# Start with the needle on the back side of the fabric. Press gently to make a little bump to be sure the needle will come through in the right place. | |||
#:[[File:Embroidery 11.JPG|300px]] | |||
# Push the needle through the fabric. | |||
#:[[File:Embroidery 12.JPG|300px]] | |||
# Move your hand to the front of the fabric and pull the needle. When the needle is pulled through far enough, grasp it near the eye so you are also holding the yarn from slipping off the needle. | |||
#:[[File:Embroidery 13.JPG|300px]] | |||
# Pull the yarn all the way through. Check the back to be sure that it is not tangled. | |||
#:[[File:Embroidery 14.JPG|300px]] | |||
# Continue making evenly spaced stitches all the way around the shape. | |||
#:[[File:Embroidery 15.JPG|300px]] [[File:Embroidery 16.JPG|300px]] | |||
# Be sure to end with your yarn on the back side of the fabric. | |||
# Remove the needle and place it in the holder. | |||
#:[[File:Embroidery 17.JPG|300px]] | |||
# Tie a knot in the yarn, keeping it as close to the fabric as possible. | |||
#:[[File:Embroidery 18.JPG|300px]] | |||
# Cut off the excess yarn. | |||
#:[[File:Embroidery 19.JPG|300px]] | |||
# Set the excess yarn aside. <br/> Flip the embroidery hoop the the front side. | |||
#:[[File:Embroidery 20.JPG|300px]] | |||
# Turn the screw on the embroidery hoop counter-clockwise to loosen it. (Do not loosen it so much that the screw comes out. | |||
#:[[File:Embroidery 21.JPG|300px]] | |||
# Remove the top hoop. | |||
#:[[File:Embroidery 22.JPG|300px]] | |||
# The embroidery is now free and can be taken home. | |||
#:[[File:Embroidery 23.JPG|300px]] | |||
# Throw away the excess yarn, or put it aside for another project. | |||
# Take the tray back to the shelf. | |||
# Place a new piece of fabric and a new loop of yarn to the tray so it will be ready for the next person to use. | |||
== Points of Interest == | == Points of Interest == | ||
| Line 21: | Line 65: | ||
== Variations and Extensions == | == Variations and Extensions == | ||
*More ideas for sewing activities: [http://montessoriworkjobs.blogspot.de/2011/11/sewing-in-montessori-primary-classroom.html Montessori Workjobs] | |||
==Material== | ==Material== | ||
Latest revision as of 19:03, 3 March 2021
| Embroidery | |
|---|---|
| Practical Life - Sewing | |
 | |
| Level | Primary |
| Age | 4.5 - 5 |
| Prerequisites | Lacing Cards Threading a Needle Tying Knots |
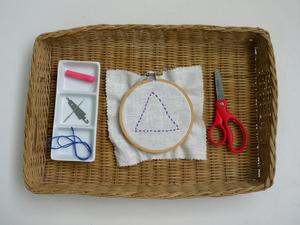
| Materials | chalk or washable marker needle threader needle embroidery floss or yarn small embroidery hoop square of fabric scissors tray |
In this activity the child learns how to do embroidery.
Presentation
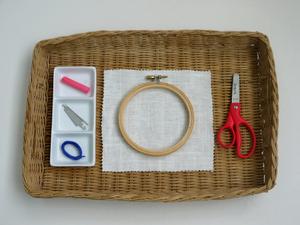
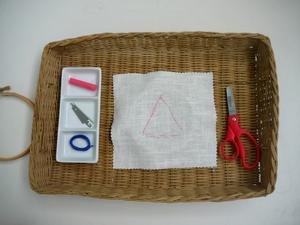
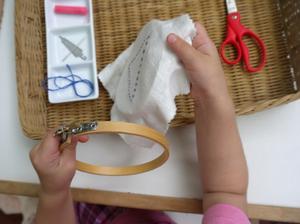
- Carry the tray to a mat or table.
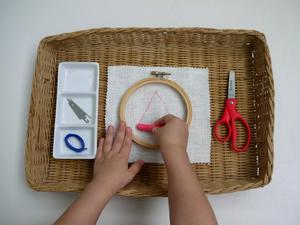
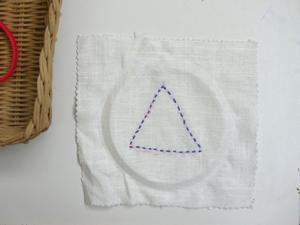
- Draw a shape on the fabric with the chalk. (Do this inside the hoop to be sure the shape will fit.)
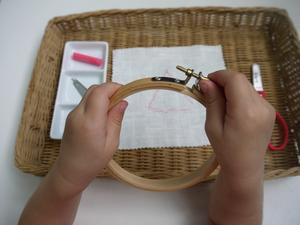
- Loosen the screw to separate the hoops.
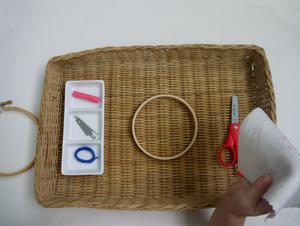
- Set the inner hoop on the tray.
- Lay the fabric over the inner hoop.
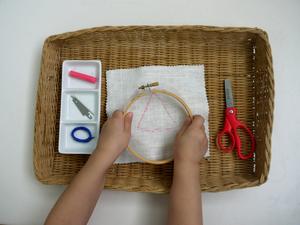
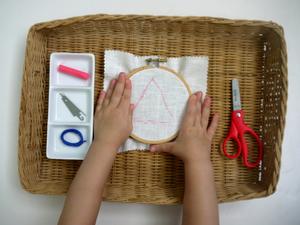
- Line up the outer loop on top and press it into place.
- Tighten the screw on the outer loop.
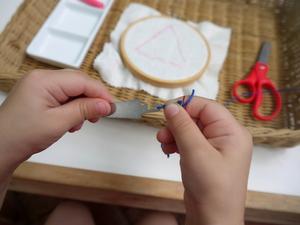
- Thread the needle as was learned in Threading a Needle.
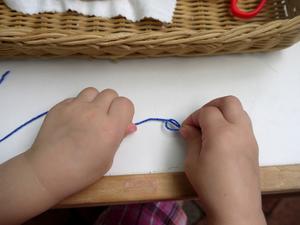
- Tie a knot in the end of the yarn.
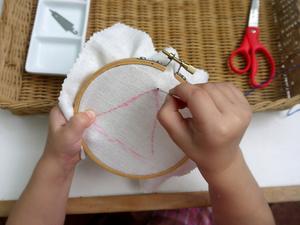
- Start with the needle on the back side of the fabric. Press gently to make a little bump to be sure the needle will come through in the right place.
- Push the needle through the fabric.
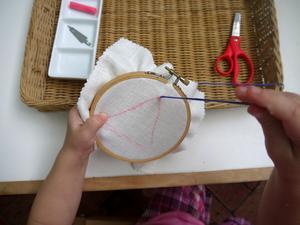
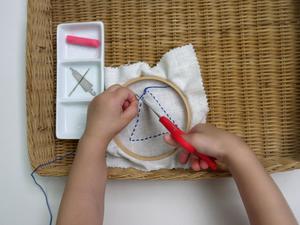
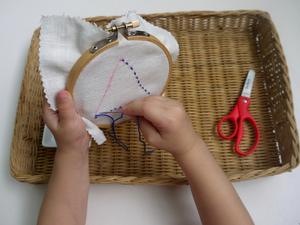
- Move your hand to the front of the fabric and pull the needle. When the needle is pulled through far enough, grasp it near the eye so you are also holding the yarn from slipping off the needle.
- Pull the yarn all the way through. Check the back to be sure that it is not tangled.
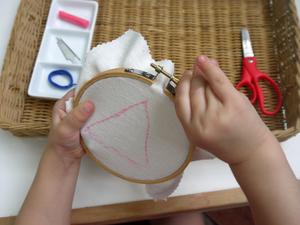
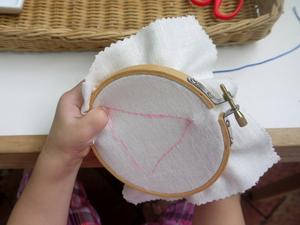
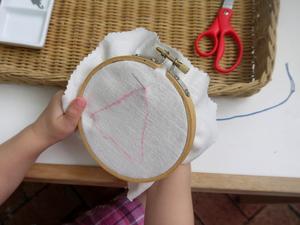
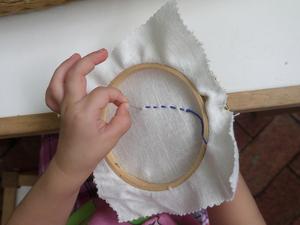
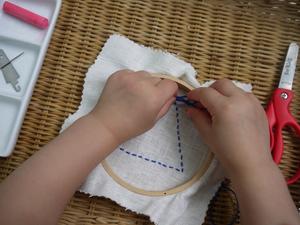
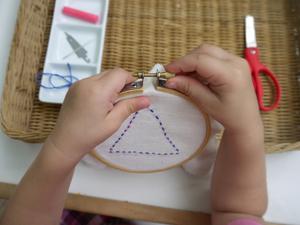
- Continue making evenly spaced stitches all the way around the shape.
- Be sure to end with your yarn on the back side of the fabric.
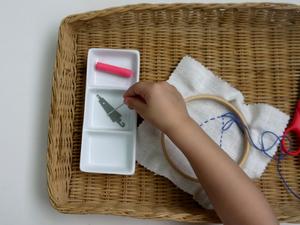
- Remove the needle and place it in the holder.
- Tie a knot in the yarn, keeping it as close to the fabric as possible.
- Cut off the excess yarn.
- Set the excess yarn aside.
Flip the embroidery hoop the the front side. - Turn the screw on the embroidery hoop counter-clockwise to loosen it. (Do not loosen it so much that the screw comes out.
- Remove the top hoop.
- The embroidery is now free and can be taken home.
- Throw away the excess yarn, or put it aside for another project.
- Take the tray back to the shelf.
- Place a new piece of fabric and a new loop of yarn to the tray so it will be ready for the next person to use.
Points of Interest
Control of Error
Variations and Extensions
- More ideas for sewing activities: Montessori Workjobs
