Embroidery: Difference between revisions
From Montessori Album
No edit summary |
No edit summary |
||
| Line 7: | Line 7: | ||
| Age = 4.5 - 5 | | Age = 4.5 - 5 | ||
| Preqs = [[Threading a Needle]] <br> [[Tying Knots]] <br> [[Sewing Boards]] <br> | | Preqs = [[Threading a Needle]] <br> [[Tying Knots]] <br> [[Sewing Boards]] <br> | ||
| Materials = | | Materials = chalk or washable marker <br> needle threader <br> needle <br> embroidery floss or yarn <br> small embroidery hoop <br> square of fabric <br> scissors <br> scissors <br> tray | ||
}} | }} | ||
| Line 13: | Line 13: | ||
== Presentation == | == Presentation == | ||
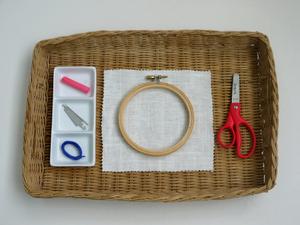
# step | # Carry the tray to a mat or table. | ||
# step | #:[[File:Embroidery 1.JPG|300px]] | ||
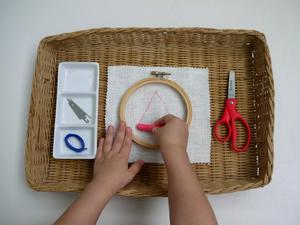
# Draw a shape on the fabric with the chalk. (Do this inside the hoop to be sure the shape will fit.) | |||
#:[[File:Embroidery 2.JPG|300px]] | |||
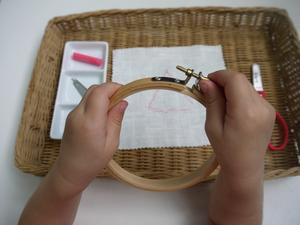
# Loosen the screw to separate the hoops. | |||
#:[[File:Embroidery 3.JPG|300px]] | |||
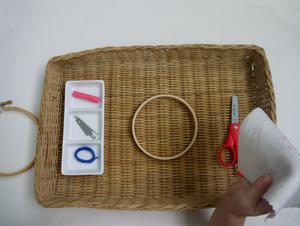
# Set the inner hoop on the tray. | |||
#:[[File:Embroidery 4.JPG|300px]] | |||
# Lay the fabric over the inner hoop. | |||
#:[[File:Embroidery 5.JPG|300px]] | |||
# next step | |||
#:[[File:Embroidery 6.JPG|300px]] | |||
# next step | |||
#:[[File:Embroidery 7.JPG|300px]] | |||
# next step | |||
#:[[File:Embroidery 8.JPG|300px]] | |||
# Thread the needle as was learned in [[Threading a Needle]]. | |||
#:[[File:Embroidery 9.JPG|300px]] | |||
# Tie a knot in the end of the yarn. | |||
#:[[File:Embroidery 10.JPG|300px]] | |||
# next step | |||
#:[[File:Embroidery 11.JPG|300px]] | |||
# next step | |||
#:[[File:Embroidery 12.JPG|300px]] | |||
# next step | |||
#:[[File:Embroidery 13.JPG|300px]] | |||
# next step | |||
#:[[File:Embroidery 14.JPG|300px]] | |||
# next step | |||
#:[[File:Embroidery 15.JPG|300px]] | |||
# next step | |||
#:[[File:Embroidery 16.JPG|300px]] | |||
# next step | |||
#:[[File:Embroidery 17.JPG|300px]] | |||
# next step | |||
#:[[File:Embroidery 18.JPG|300px]] | |||
# next step | |||
#:[[File:Embroidery 19.JPG|300px]] | |||
# next step | |||
#:[[File:Embroidery 20.JPG|300px]] | |||
# next step | |||
#:[[File:Embroidery 21.JPG|300px]] | |||
# next step | |||
#:[[File:Embroidery 22.JPG|300px]] | |||
# next step | |||
#:[[File:Embroidery 23.JPG|300px]] | |||
== Points of Interest == | == Points of Interest == | ||
Revision as of 16:22, 14 July 2012
| Embroidery | |
|---|---|
| Practical Life - Care of the Person | |
| Level | Primary |
| Age | 4.5 - 5 |
| Prerequisites | Threading a Needle Tying Knots Sewing Boards |
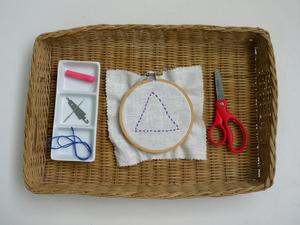
| Materials | chalk or washable marker needle threader needle embroidery floss or yarn small embroidery hoop square of fabric scissors scissors tray |
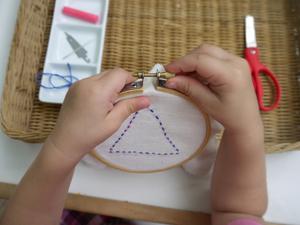
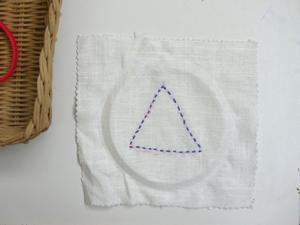
In this activity the child learns how to do embroidery.
Presentation
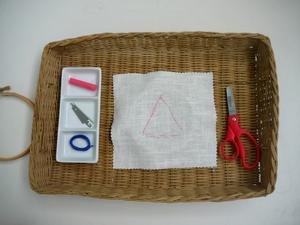
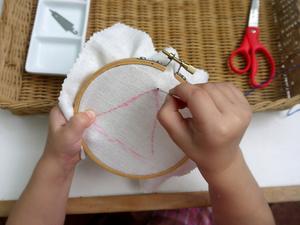
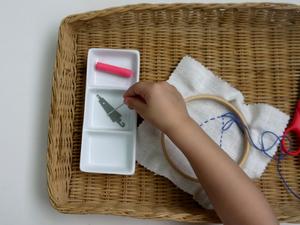
- Carry the tray to a mat or table.
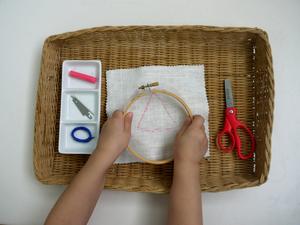
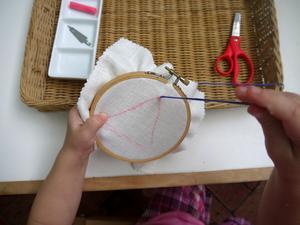
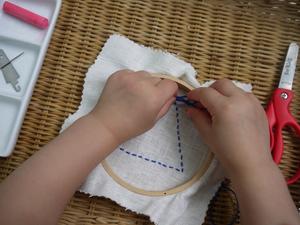
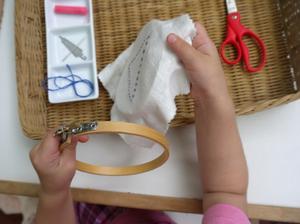
- Draw a shape on the fabric with the chalk. (Do this inside the hoop to be sure the shape will fit.)
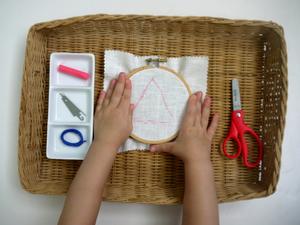
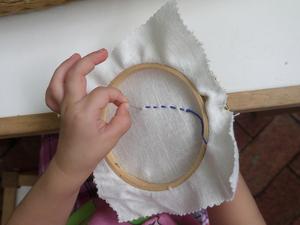
- Loosen the screw to separate the hoops.
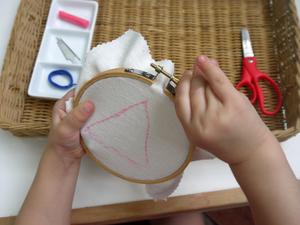
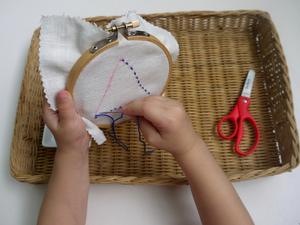
- Set the inner hoop on the tray.
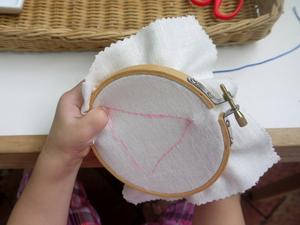
- Lay the fabric over the inner hoop.
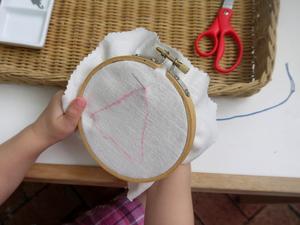
- next step
- next step
- next step
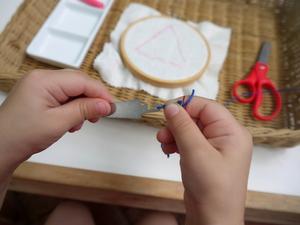
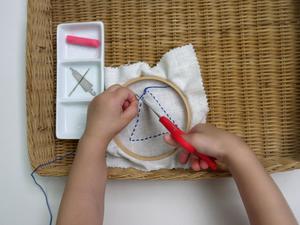
- Thread the needle as was learned in Threading a Needle.
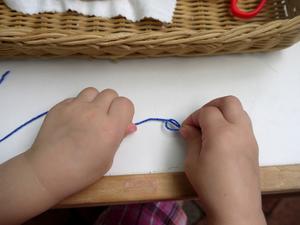
- Tie a knot in the end of the yarn.
- next step
- next step
- next step
- next step
- next step
- next step
- next step
- next step
- next step
- next step
- next step
- next step
- next step
