Setting a Table
From Montessori Album
| We've updated our prices on products from many online Montessori stores! If we've missed your favorite store, please let us know! |
| Setting a Table | |
|---|---|
| Practical Life - Care of the Environment | |
 | |
| Level | Primary |
| Age | 3 - 5 |
| Materials | place mat plate glass fork tea spoon butter knife cloth napkin tray |
This activity teaches the child how to lay out a place setting.
Presentation
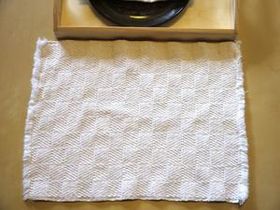
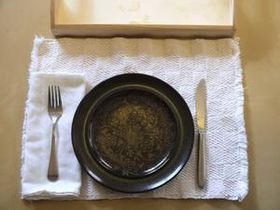
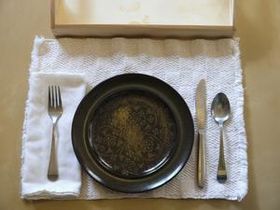
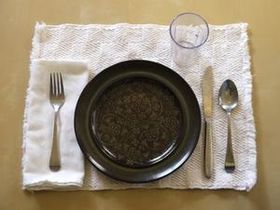
- Place the place mat.
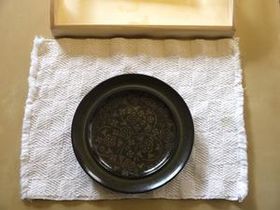
- Put the plate in the middle of the place mat towards the bottom.
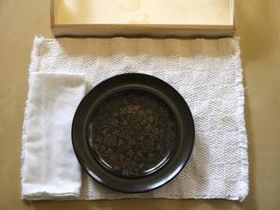
- Place the napkin to the left of the plate.
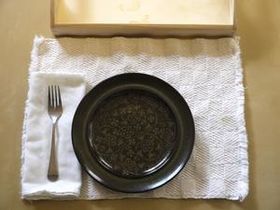
- Place the fork on top of the napkin.
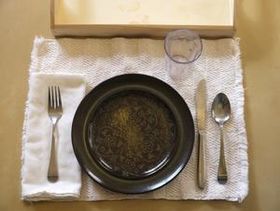
- Place the knife to the right of the plate with the cutting edge towards the plate.
- Place the spoon to the right of the knife.
- Place the glass to the upper right of the plate.
- Remove the tray if the place setting will be used. Otherwise, return the items to the tray.
Points of Interest
- Students will learn how to set the table and be able to help during set up for lunch
Control of Error
- A diagram of a place setting could be taped inside the tray.
- A special place mat with the items used embroidered or drawn on could be used for a younger child.
Variations and Extensions
- Ideally, after a few of the children have had this lesson, they will take over the setting of tables for lunch.
- Fancy napkin folds could be taught. The napkin would then be placed on the plate instead of under the fork.
- A napkin ring could be used. The napkin would then be placed on the plate instead of under the fork.
- A bread plate could be added. It would go to the upper left of the plate.
Further Reading
- Teaching Montessori in the Home: The Pre-School Years by Elizabeth G. Hainstock, page 29
- Teach Me to Do It Myself by Maja Pitamic, pages 30-31
